Tiler provides an example of how network commands and the plugin interface can be used together.
Tiler uses network commands to move the scope to different (x,y,z) locations and to remotely change the laser power as a function of depth.
It shows how to accumulate images at each site, collect the together, and save them at the end of the session.
In this example, the parameters of the plugin are hard-coded into configuration variables, but one can modify the plugin to allow iterative selection of these values.
sbconfig.plugin_param.tiler.xrange =    50.39 * 200;  % +/- range
sbconfig.plugin_param.tiler.yrange =    50.39 * 200;  %
sbconfig.plugin_param.tiler.zrange =    12.8 * 10;   % 12.8 usteps/um

sbconfig.plugin_param.tiler.x_tiles = 3;
sbconfig.plugin_param.tiler.y_tiles = 3;
sbconfig.plugin_param.tiler.z_tiles = 3;

sbconfig.plugin_param.tiler.nframes = 15; % frames collected at each location
The range variables dictate the +/- range the scope will move in each direction. The *_tiles variables indicate the number of tiles that will be used along each axis, and the number of frames is how many frames we will accumulate at each location before moving to the next.
In this example the system will go from -200 to 200um along the x and y axes, and from -10 to 10 um along the z axis. The 12.8 conversion factor is required to translate from um to knobby units for the z-axis, while 50.39 is needed for the x and y axes. This conversion assumes knobby will be working in super-fine mode, which is enforced remotely by the plug-in by means of a network command.
If you edit tiler.m you will find a section that reads:
% adjust laser power according to depth... or comment out
% if you don't want to do this...

val = 10 + 10 * (max(zpos)-zpos(tz))/range(zpos); % linear change with depth
fprintf(sb,sprintf('W%d',round(val)));
Here, zpos(tz) is the current depth and the ‘W’ command is used to remotely change the laser power as a function of depth. In this case, we are modifying the laser power from 10% to 20% in a linear fashion across the entire range of depth values. You can modify these lines to change the power in any way you want. The value represents a percentage 0-100% of the maximum laser power. Sending the command will change the power slider on the Scanbox GUI.
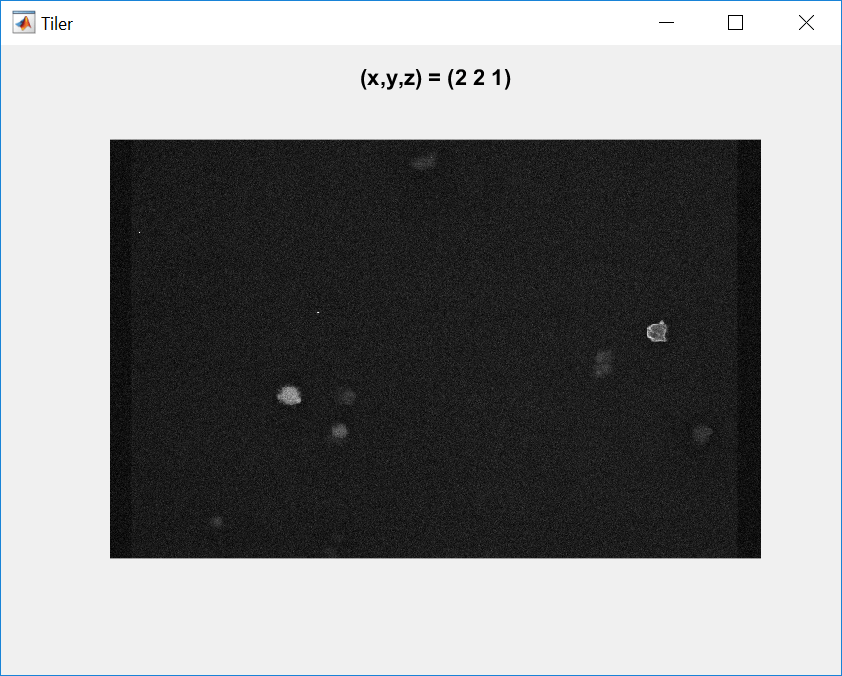
While running the plugin you will see it display the accumulated images at each location:

Scanbox will then ask you for a filename to save the data.
If you want the system to return to the original location, please remember to use the “Return” feature in the knobby scheduler panel (or modify the plugin to do it automatically).
Instead of having to come up with an expression for the laser power as a function of depth you can also use Scanbox AGC feature which will adjust the power automatically at each location. However, remember that AGC needs a bit of time to compute the statistics of the pixels in the image and to work properly you may want to spend about 10 seconds in each location. If you use AGC, comment out the lines above that change laser power as a function of depth.
Finally, remember that you will only see the plug-in appear in Scanbox’s pull down menu if it included in the configuration file list:
